
User Tools
Sidebar
documentation:machines:epilogzing
This is an old revision of the document!
Table of Contents
Epilog Zing 24
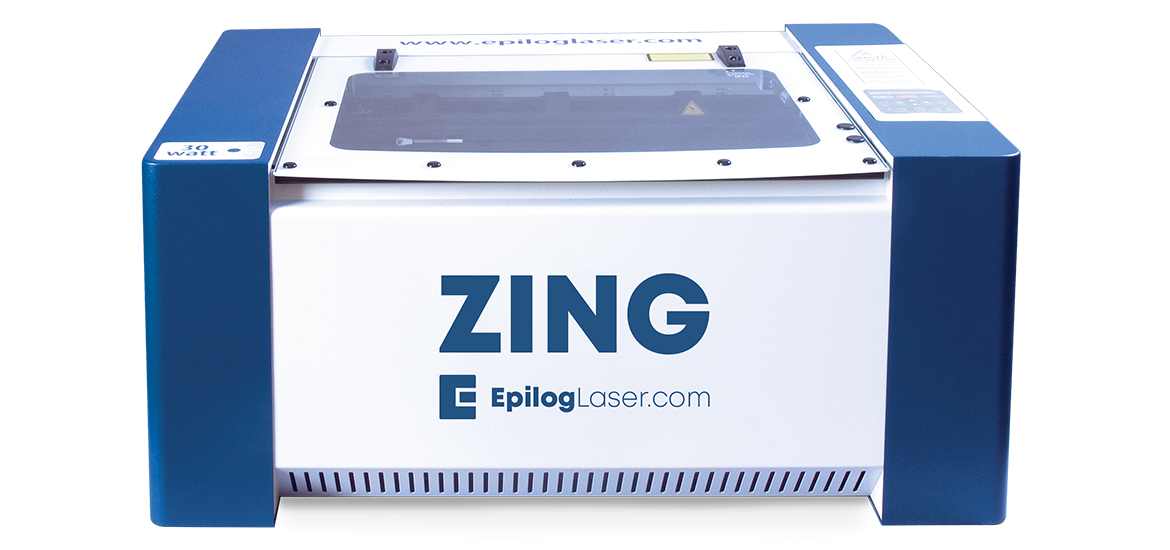
Arbeitsbereich: 24“ x 12” (610 x 305 mm)
Leistung: 30 Watt
Bedienungsanleitung
Rhino
- Place a piece of material, aligned to the top left corner.
- In Rhino, make a design where cut-lines have print-width set to Hairline and engraving is hatched.
- Turn th elaser on and wait for a beep to note the machine is initialized.
- Place your sample material on the table in the upper left corner. Make sure the table is low enough to accommodate the material. If not low enough, press the Focus key, then the down arrow to lower the table before placing your item on the table.
You can zero-out the readout by pressing the Up and Down arrow keys simultaneously to generate a relative position of 0.000. This is useful for determining exactly how from nominal focus you would like to be. Some materials, like acrylic, are better engraved when slightly out of focus. To manually focus anywhere on the table see the description for the X/Y Off key for a full explanation of this feature. Disable motors by pushing the button with the x/Y-Lock symbol. - Set your focus by flipping down the focus gauge (spring unit on the lens assembly) and raising or lowering the table until it is just touching the material. Close the door.
- Set home position: Disable axes, turn on laser pointer, move the head to top left, hit the play icon.
- Click Properties to see the Laser Dashboard. Set a resolution (500 DPI usually), set a page size to match the page size of the file, and choose a speed and power setting under raster settings. See “Epilog Zing Suggested Material Settings” on page 143 for suggested speeds and powers.
- Click OK to exit the Laser Dashboard and click Print to print the page to your laser.
- Turn on your exhaust fan or filtration unit.
- At the laser, the job you sent over will be shown on the LCD display. Press the Go key to run the job. The job will start running.
Inkscape
- Raster Mode: Used for engraving or marking materials. Typical applications include engraving clipart, scanned images, photos, text and graphic images. Vector lines that you want to engrave rather than cut should be set 0.006” (0.152 mm) or greater line thickness.
- Vector Mode: Selected when you are running only cut lines, or for use with the Red Dot Pointer for previewing the job processing area. In vector mode, a line is recognized as a line to be cut based on the line width (or stroke). These lines can also be affected by resolution, but we’ll discuss that in a later chapter. To make things easy, set any cut lines to a line width of 0.001” (.0254 mm), or hairline width in CorelDRAW.
Schnitt
| Material | Dicke | Speed | Power | Frequenz | Einsatz |
|---|---|---|---|---|---|
| Acryl | 3mm | 8 | 100 | 5000 | Schnitt |
| Acryl | 6mm | 2 | 100 | 5000 | Schnitt |
| Acryl | 9,5mm | 3* | 100 | 5000 | Schnitt mit SpeedComp* |
| Karton | 1,5mm | 400 | 50 | 500 | Falzen |
| Karton | 1,5mm | 100 | 98 | 500 | Schnitt |
| Leder | 3mm | 35 | 100 | 500 | Schnitt |
| Holz | 3mm | 20 | 100 | 500 | Schnitt |
| Holz | 6mm | 5 | 100 | 500 | Schnitt |
| Holz | 9,5mm | 1 | 100 | 500 | Schnitt mit SpeedComp* |
Gravierung
| Material | Speed | Power | Freq. | Einsatz |
|---|---|---|---|---|
| Acryl | 90 | 45 | 500 | Foto Gravierung |
| Acryl | 90 | 65 | 500 | Vector Gravierung |
| Acryl | 90 | 60 | 500 | Vector Gravierung HiRes |
| Anodisiertes Aluminium | 90 | 40 | 500 | Foto Gravierung |
| Anodisiertes Aluminium | 90 | 35 | 500 | Foto Gravierung |
| Anodisiertes Aluminium | 90 | 45 | 500 | Vector Gravierung |
| Kork | 90 | 35 | 500 | Vector/Foto Gravierung |
| Glas | 90 | 35 | 500 | Vector/Foto Gravierung |
| Leder | 90 | 25 | 500 | Foto Gravierung |
| Leder | 90 | 30 | 500 | Vector Gravierung |
documentation/machines/epilogzing.1612283669.txt.gz · Last modified: 2021/02/02 16:34 by ferdi
Except where otherwise noted, content on this wiki is licensed under the following license: CC Attribution-Share Alike 4.0 International
